How it works
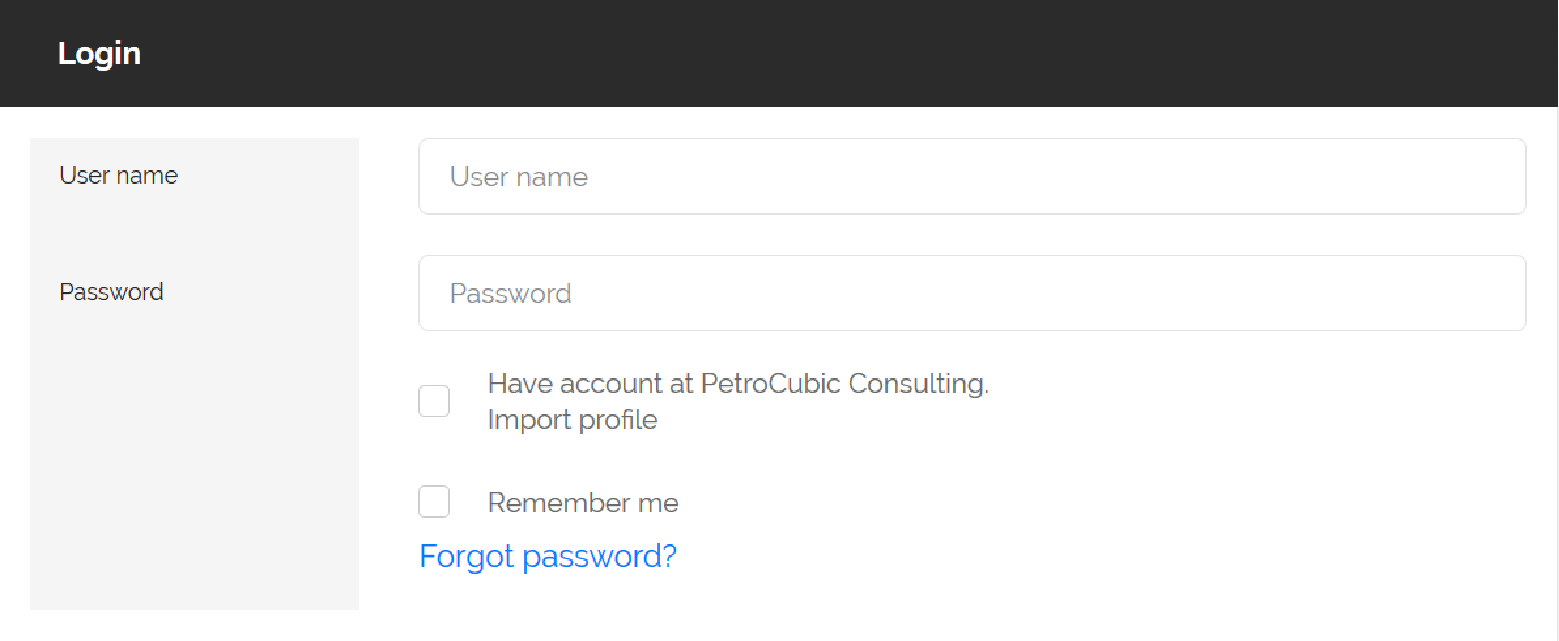
Step 1. Sign-up
Begin by registering a new account. If you already have an account at PetroCubic’s consulting platform (petrocubic.com), you may import your profile upon your first login instead.
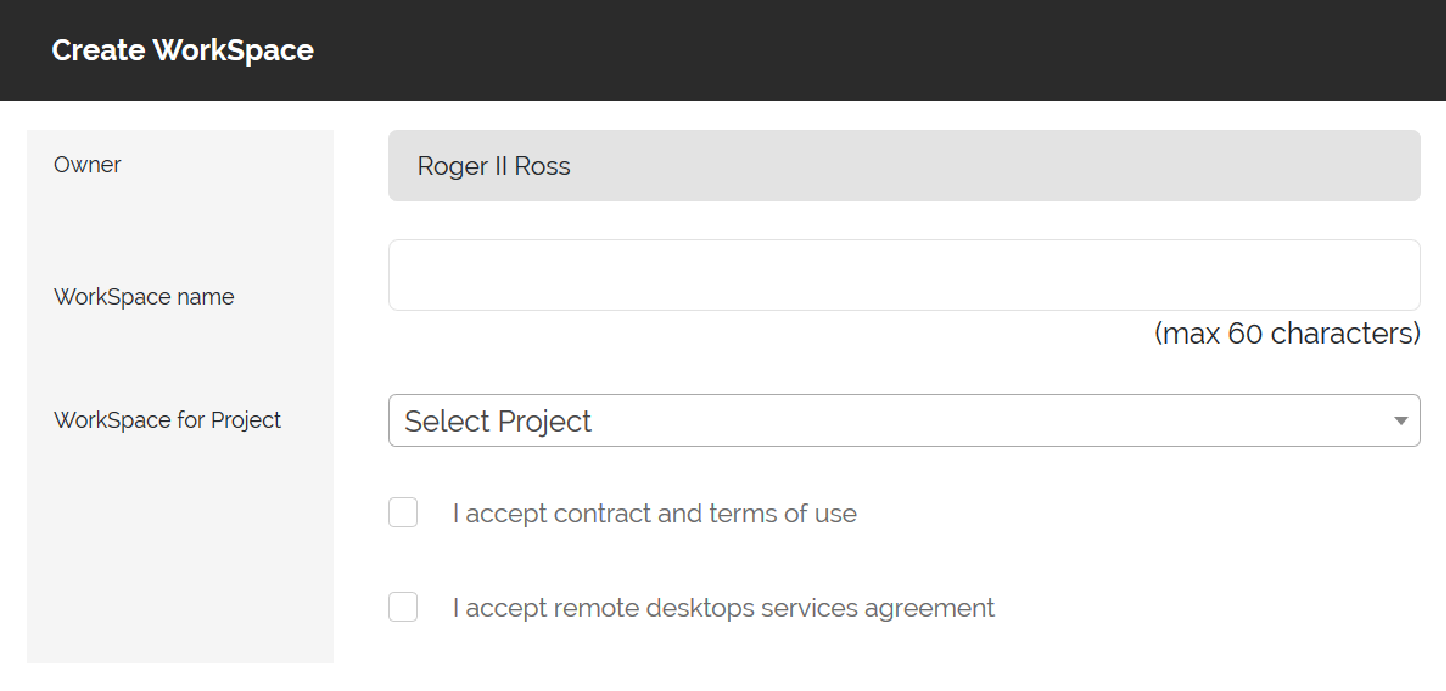
Step 2. Creating your first Workspace
Your Workspace is a group of resources that you request and allocate to different users. Those resources could include remote computers, software installed on each machine, and assigned users. In order to start working with remote computers, you must first create a Workspace in which all resources can be accessed.
There are no charges to create a Workspace, only for requested computers and software. You can complete this step without providing any financial information.
If you have ongoing project at PetroCubic consulting, you can select it here, but it is not mandatory. If you want to use Workspaces alone, you can skip this step.
In Workspaces, input a name to identify this project from other WorkSpaces you might have.
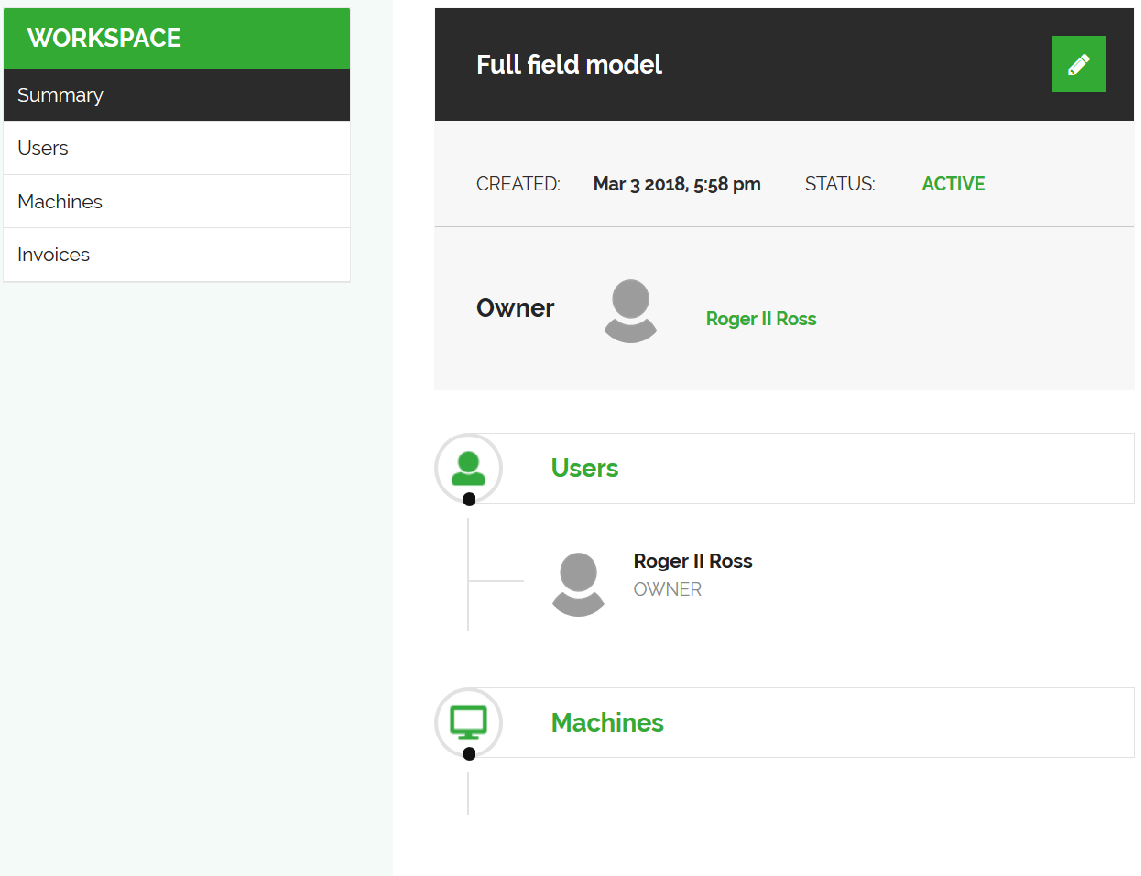
After you create new Workspace, it will appear in the list of your Workspaces.
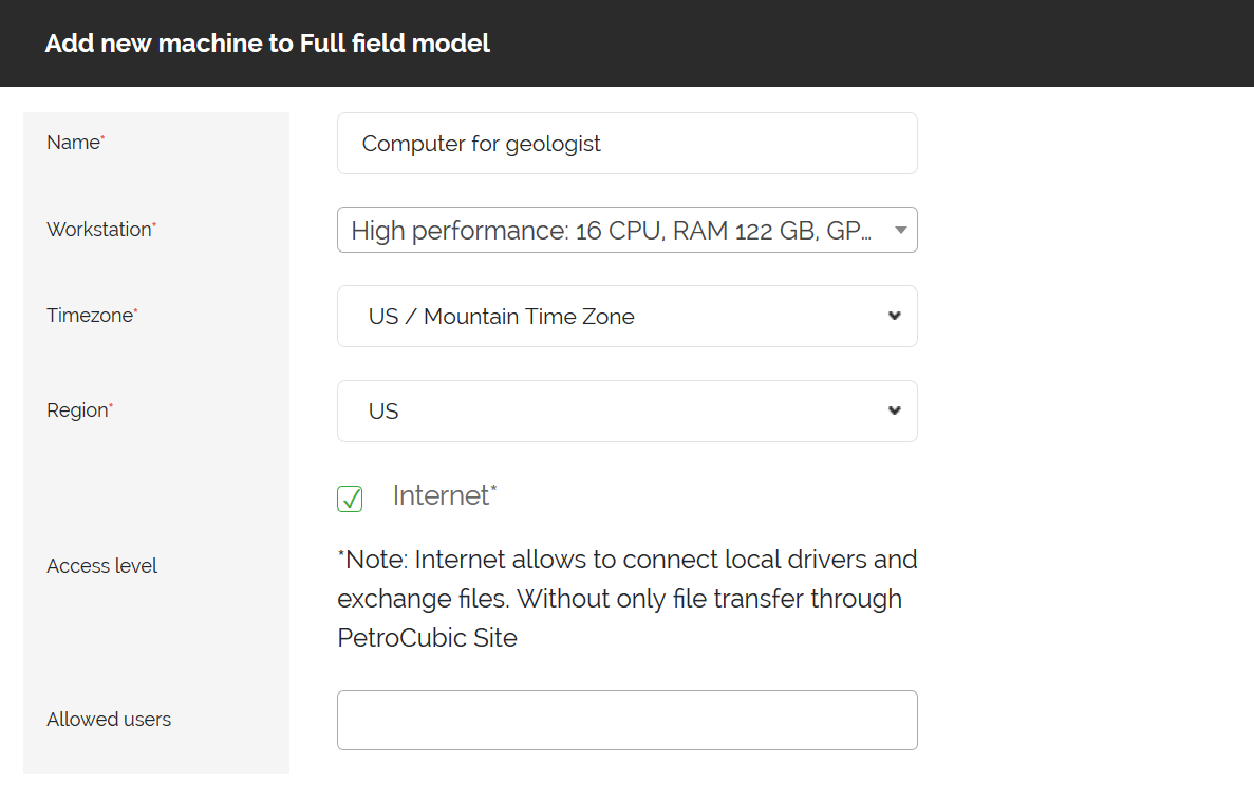
Step 3. Adding computers
After you’ve created a Workspace for your resources, you can begin adding machines to which you will connect remotely:
- - Type in text to identify this computer.
- - Select workstation hardware to suit the software you are planning to install on this machine.
- - Select the time zone of the user(s) who will be primarily working with this computer. Time zones are used for billing of daily fees.
- - Select the region in which this computer will be set up (Currently, only US region is available which is able to serve North America and Western Europe customers).
- - Select whether you choose to allow Internet access. Disabling internet access will prevent any direct uploads/downloads of data to this computer (Currently, all users will have internet enabled).
- - If you have not created any users yet, you can still add them later. The Workspace owner will be a user for all computers by default.
You can create one or several machines. Although several users might have access to a single machine, only one can work there at a time.
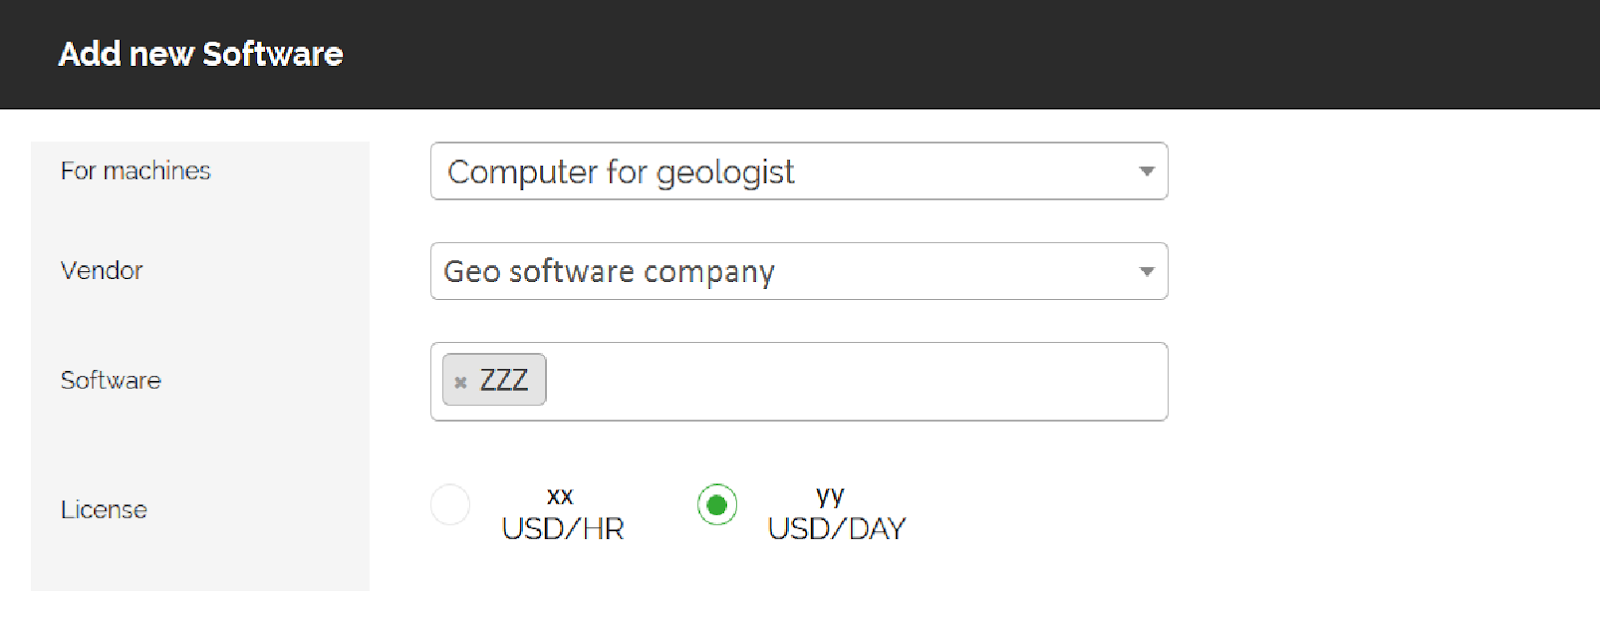
Step 4. Adding software
- -After you have created a machine, you can add your desired software to be installed on each machine.
- -You can see prices and choose the price model from the available options.
- - Repeat this step for every type of software and computer you created.
Step 5. Adding users
You may skip this step if you intend to use computer alone or wish to add users later. Workspace owner is always assigned as a default user to each workstation.
In order to add other users to machines they need to register first. Then you invite them to join your workspace using your personal profile and sending invite via website with their email you know. Invited user will receive email and if accepted correspondent user will show up in your contacts list. After that you will be able to assign them to machines.
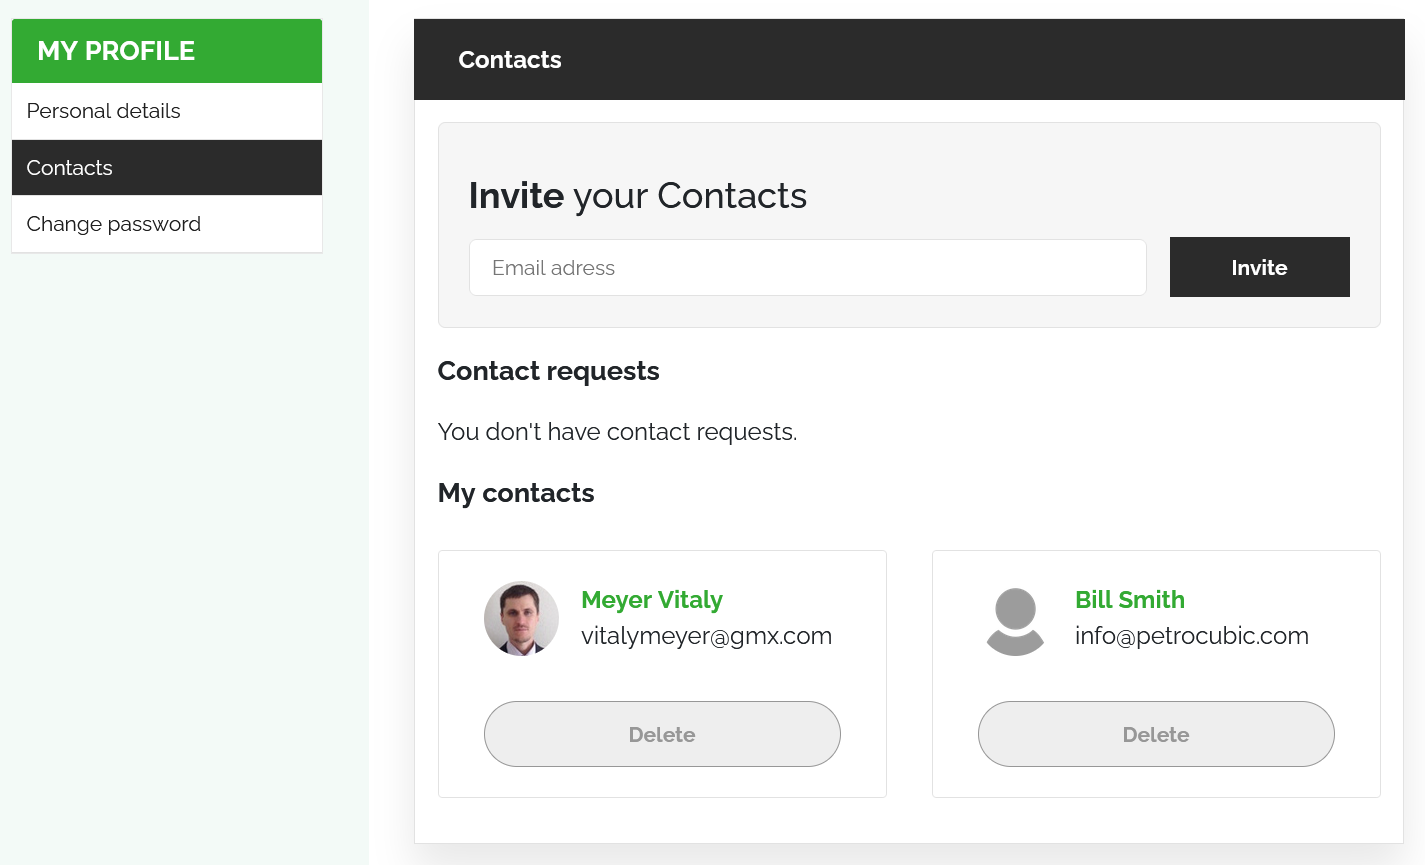
After new user is accepted in your contacts list you can start adding users to workspaces.
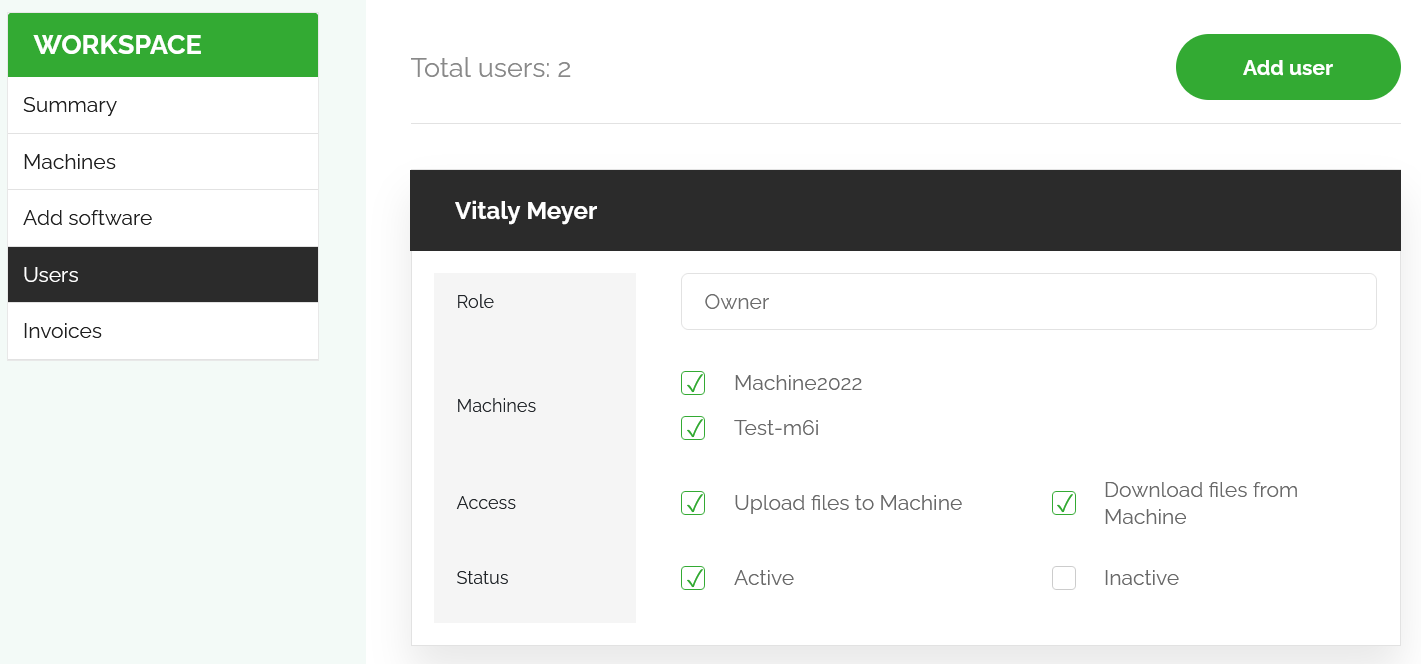
After new user is added to workspace his/her name will appear in the list of users available when creating new machines or changing existing.
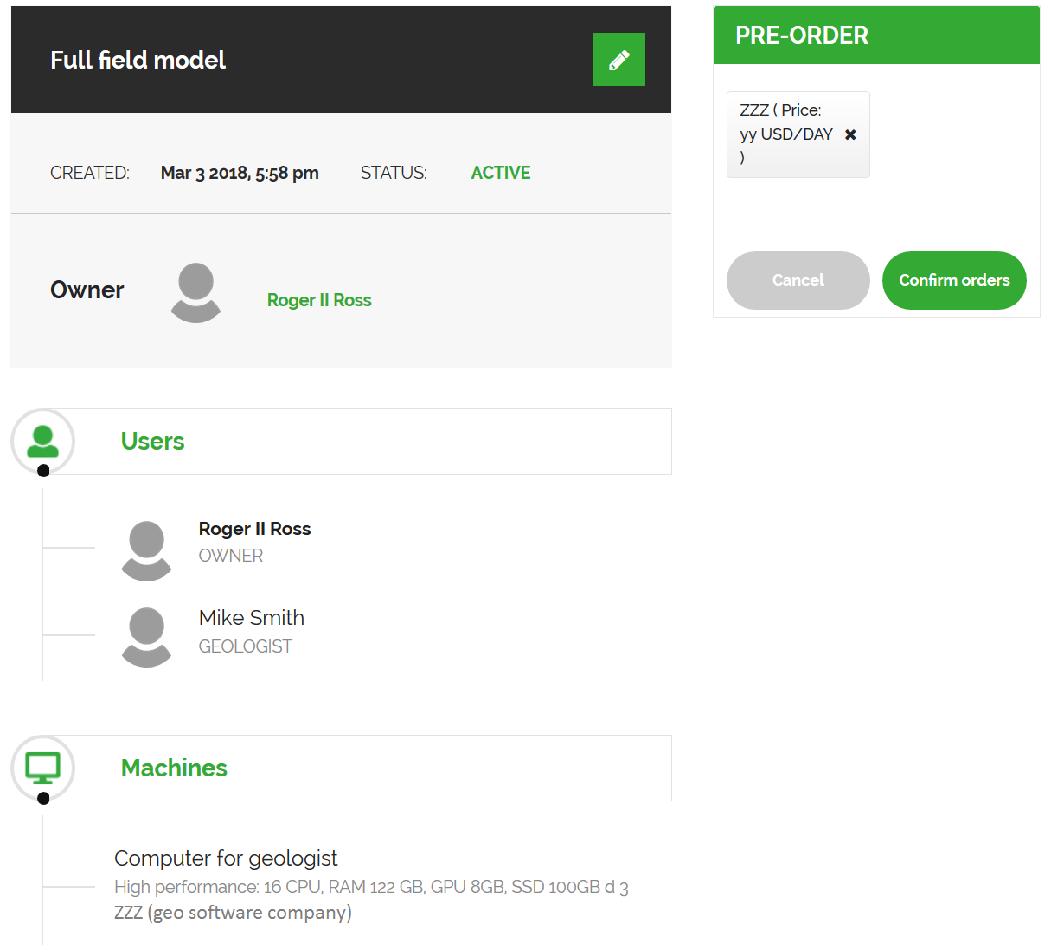
Step 6. Confirming the order
After you have finished ordering computers, selecting software, and adding users, the final step is to confirm your order.
- - The summary page will have a shopping cart with all of the users, computers, and software you pre-ordered.
- - If everything is correct, you can proceed and confirm your order.
- - After confirmation you will receive email with confirmation and contract. If you do not see email after few minutes the order was not placed.
Step 7. Working with remote computers
- - After your request is approved and resources are provisioned, you will receive an email notification on how to begin using remote computers. Usually it takes less than 24 hours.
- -You will receive login details and will be able to connect to machines after installing the client application. All software and licenses will be installed, so you can start using them immediately.
If you have additional questions, please see our FAQ section, contact us directly, or consult our community forum.
Have more questions? Use
Contact form